skekvil from the dark crystal: Zbrush Sculpt


The Process of sculpting
I started the process with a spherical armature sculpt that would inform the basic proportions of the body. I then began roughing out basic anatomical definition around the torso and arms. This project was designed to be a bust, so I opted to remove the legs.
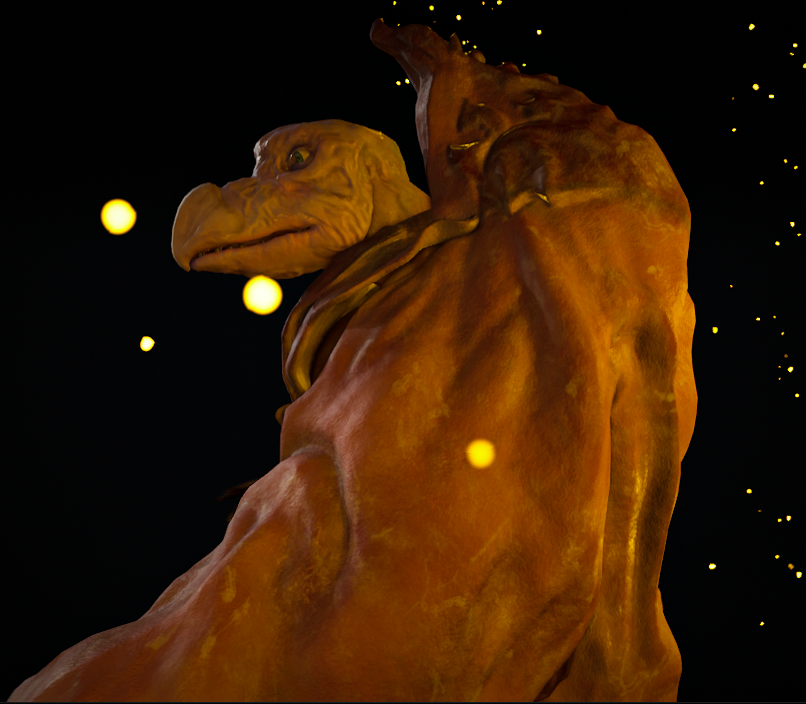
When I felt I had a good enough base, I began roughing out the head, eventually adding eyes, eyelids and the beak/mouth area. Using several pieces of reference, I began adding in general landmarks on his head like the wrinkles, beak scratches and pronounced brow.
Once I felt all whole body was 75% done, I moved onto clothing and smaller assets. Utilizing uv texture maps, I was able to give each asset their appropriate textures shown through my reference.
When I finished polypainting the sculpt, I imported it into 3ds max where I created a CAT rig for animation. I also took the neutral pose of my sculpt and added morph targets for the blink, mouth open and mouth close. I also took the sculpt and its appropriate uv maps in Substance where I added layers of texturing to enhance the sculpt.
I finally brought everything into Unreal Engine 5 where I combined all the elements and rendered the scene with some particles in the background
What I learned
Through these projects and my final, I learned how to:
Use 3DS Max 2022 to create a CAT rig for animation and morph targets
Use substance for texturing
Use Unreal Engine to hook up texture maps and render final animation with particles


