DESIGNING THE MECHANISM
The mechanism I designed is heavily inspired by David Ferreria, who has spent years of dedication designing his own BB-8 Mechanism.
I modeled everything in Solidworks and grew nearly everything on my own hobbyist 3d printer.
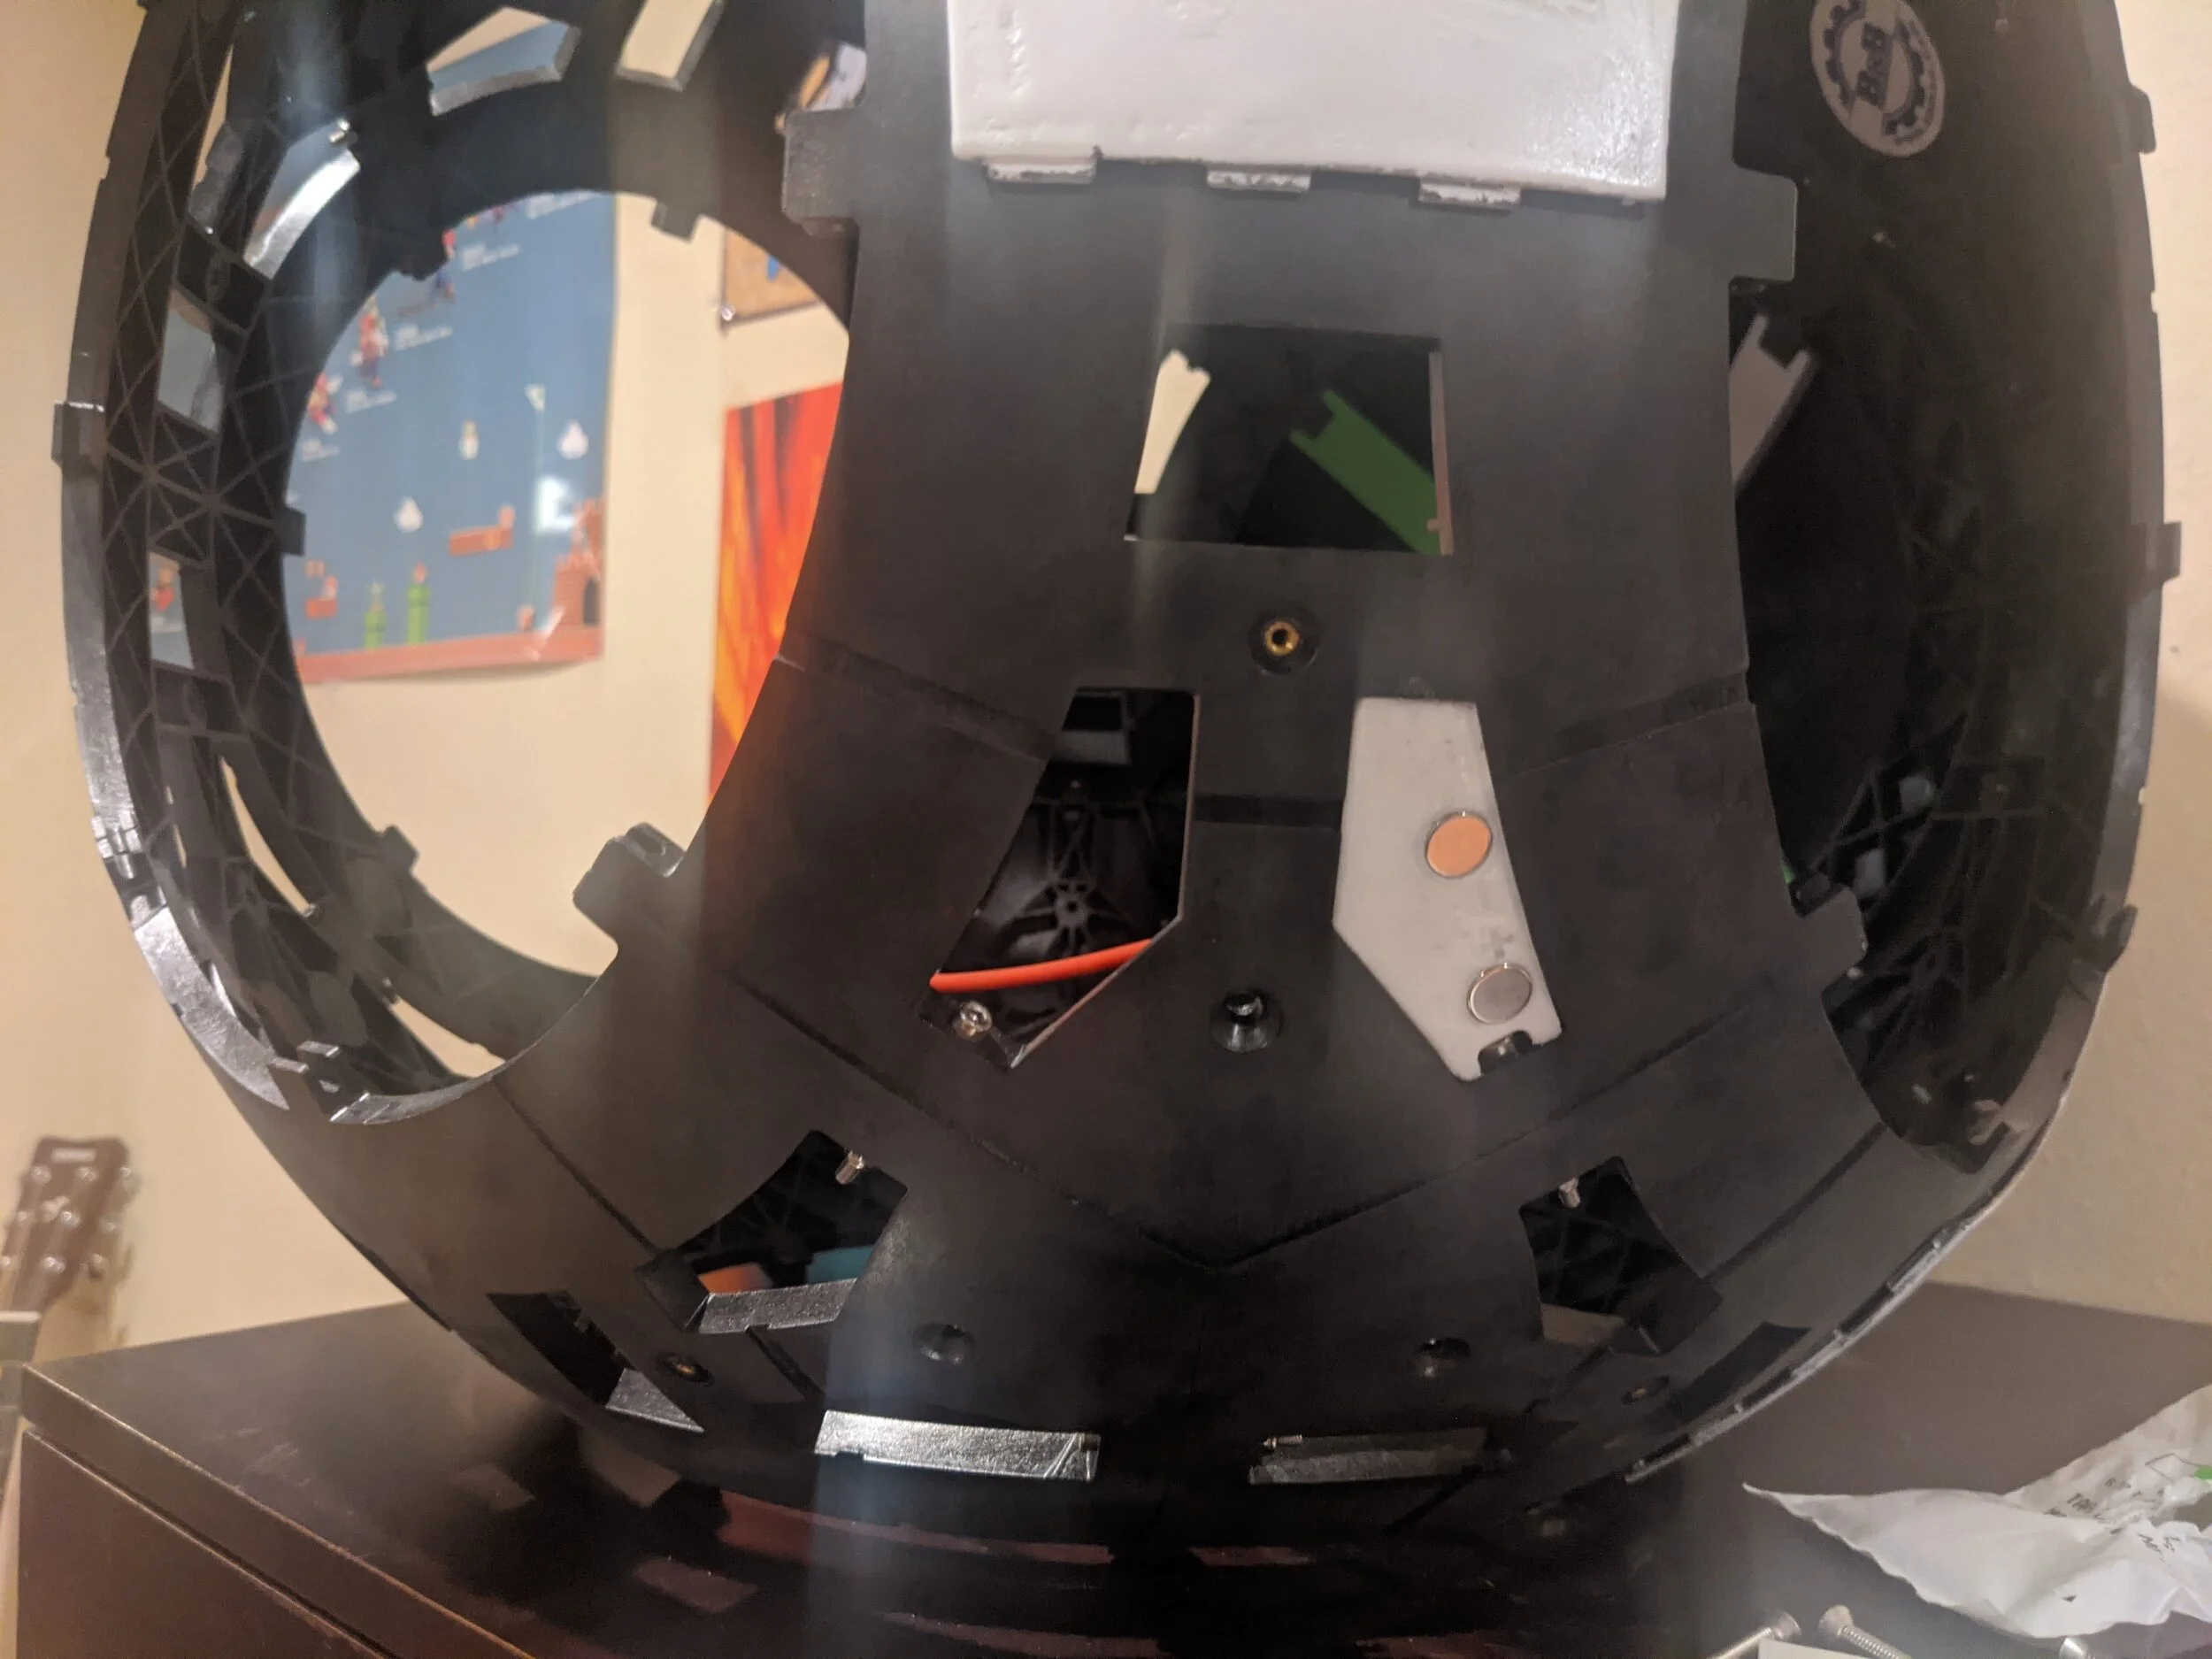
A hex rod spans centrally in a sphere and is picked at either end by the panel skeleton (see more with photos below). To spin the rod for the forward and back motion, I used an FRC bag motor that mechanically drives a bevel gear set, allowing me to position the bag motor perpendicularly to the rod.
Surrounding that bevel gear assembly is an enlarged u-joint that is cable-driven using hitec servos. The inner white box controls head pitch and the outer orange U-piece controls head roll. The orange box inside the white box controls body roll and is actuated with a crank mechanism. The head spin is actuated with staged pulleys.
There is a flywheel mechanism underneath. An inner gear ring is captured on the outer ring of a lazy susan and is supported by counterweights, the batteries. The inner ring of the lazy susan is the entire gross mechanism, including the flywheel’s external gear. The external gear actuates against the inner gear, creating centrifugal acceleration.
3D Printing The Aesthetics
I commissioned Cary Christie, a fellow BB-8 builder, to grow a set of panels on his Raise printers with PLA filament. They were far more accurate and of higher quality than what I initially grew.
Everything was then post-processed from low to high grits of sandpaper, each separated by a layer of filler primer. Once polished to the desired finish, areas were masked and painted in orange, white, and gray paint. A final layer of satin clear coat was sprayed over everything as a protective barrier.
This was my first attempt at doing any type of post-processing. While the results were amateurish, they were very informative and gave me a great benchmark of what areas to grow in.


Build timeline